I was watching a youtube video and saw someone using a Ryobi glue gun. What piqued my interest was that the glue gun had no wires, just a cradle it sat in. I assumed that the gun had a Li-ion rechargeable in it and that cradle kept it charged up, but that turned out to be way off. So, here’s my attempt at a Ryobi 18V glue gun conversion to wired power.
So, the cradle part sits atop one of Ryobi’s 18V batteries. When you place the glue gun into the cradle and turn it on, it warms it. When you remove the gun to use it, the energy source is removed, but the gun retains the heat for quite a while, allowing you to do your glue-ups. As the gun cools, the glue sticks will become difficult to squeeze through, and it just needs to be returned to the cradle to warm back up. This passive design works well for everything I would use it for.
Now, here’s the rub. The gun is cheap, around 30 bucks on Amazon, but the battery and charger will cost you another hundred dollars. If you already own other Ryobi cordless tools, this is no problem; the batteries for those will work for this perfectly. I, on the other hand, do not have any Ryobi tools, so the prospect of buying the battery and charger just for a glue gun wasn’t very appealing.
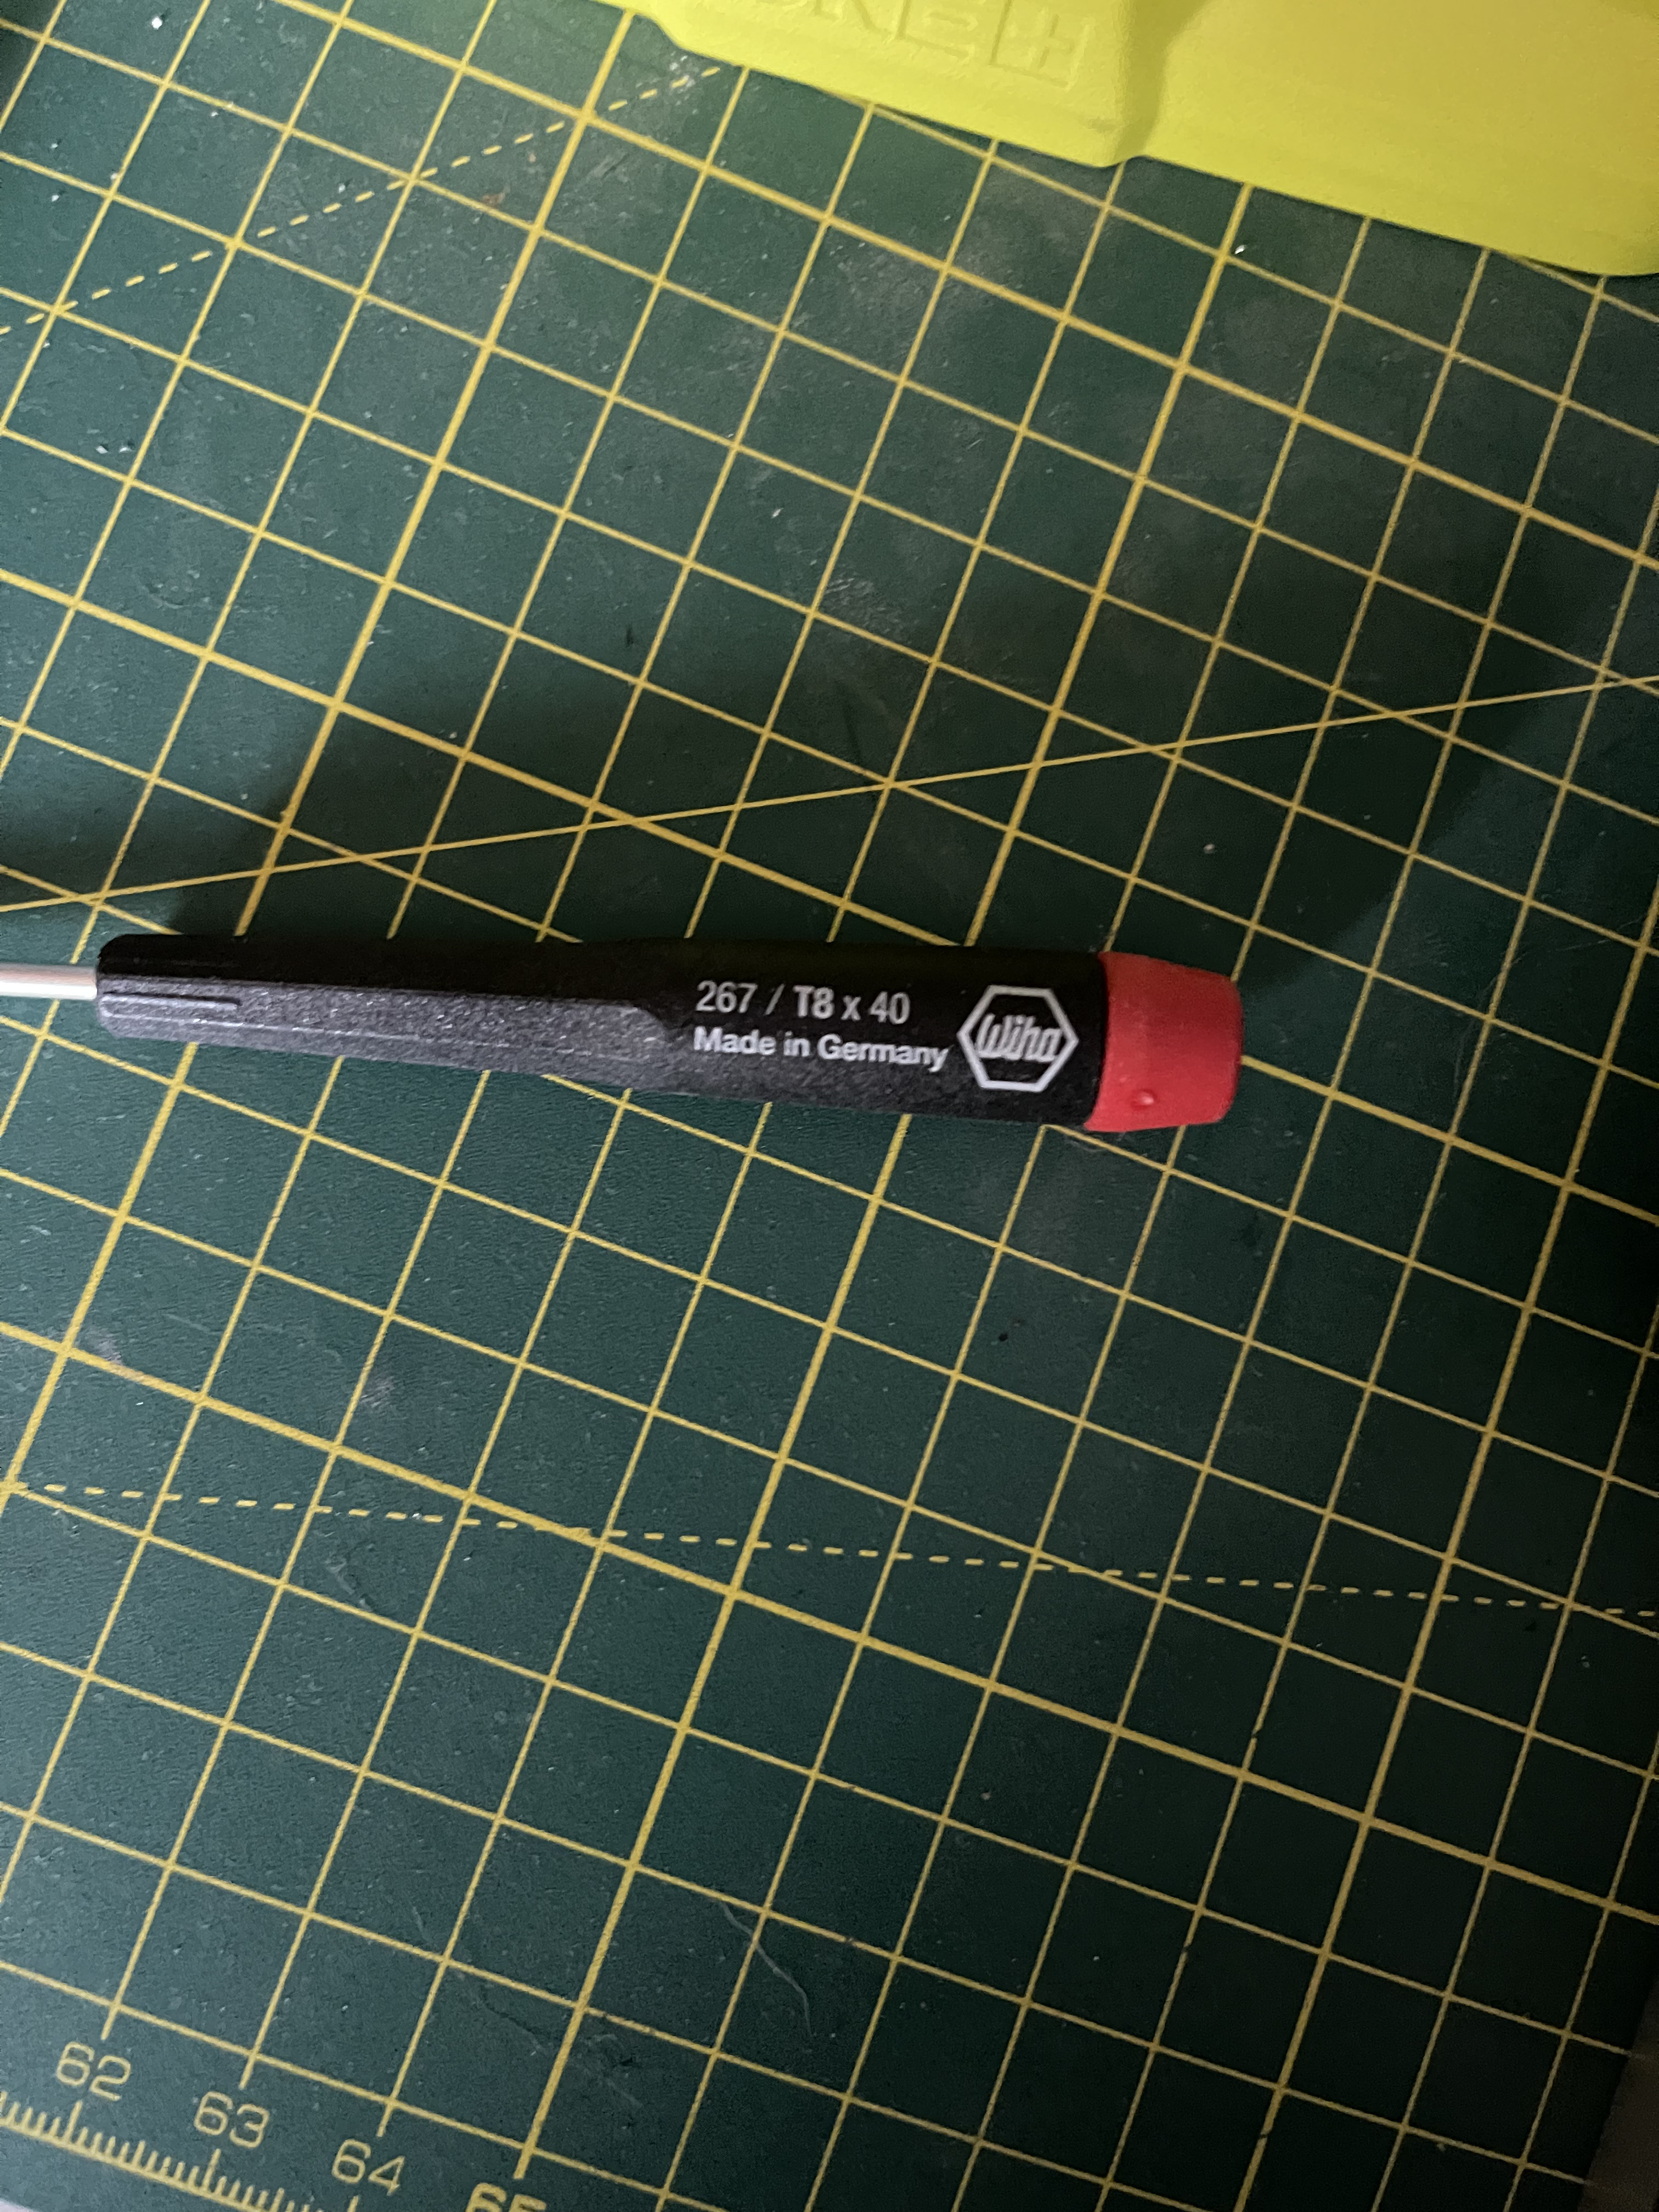
Fortunately, there’s plenty of space on the cradle to install a barrel jack and power it directly with an AC adapter. The first step was opening it up and finding a suitable place inside I could mount the jack. Opening the cradle only requires a T8x40 torx driver, five screws on the cradle’s side hold it together. You’ll want to use an Exacto or something similar to cut the label on the bottom.
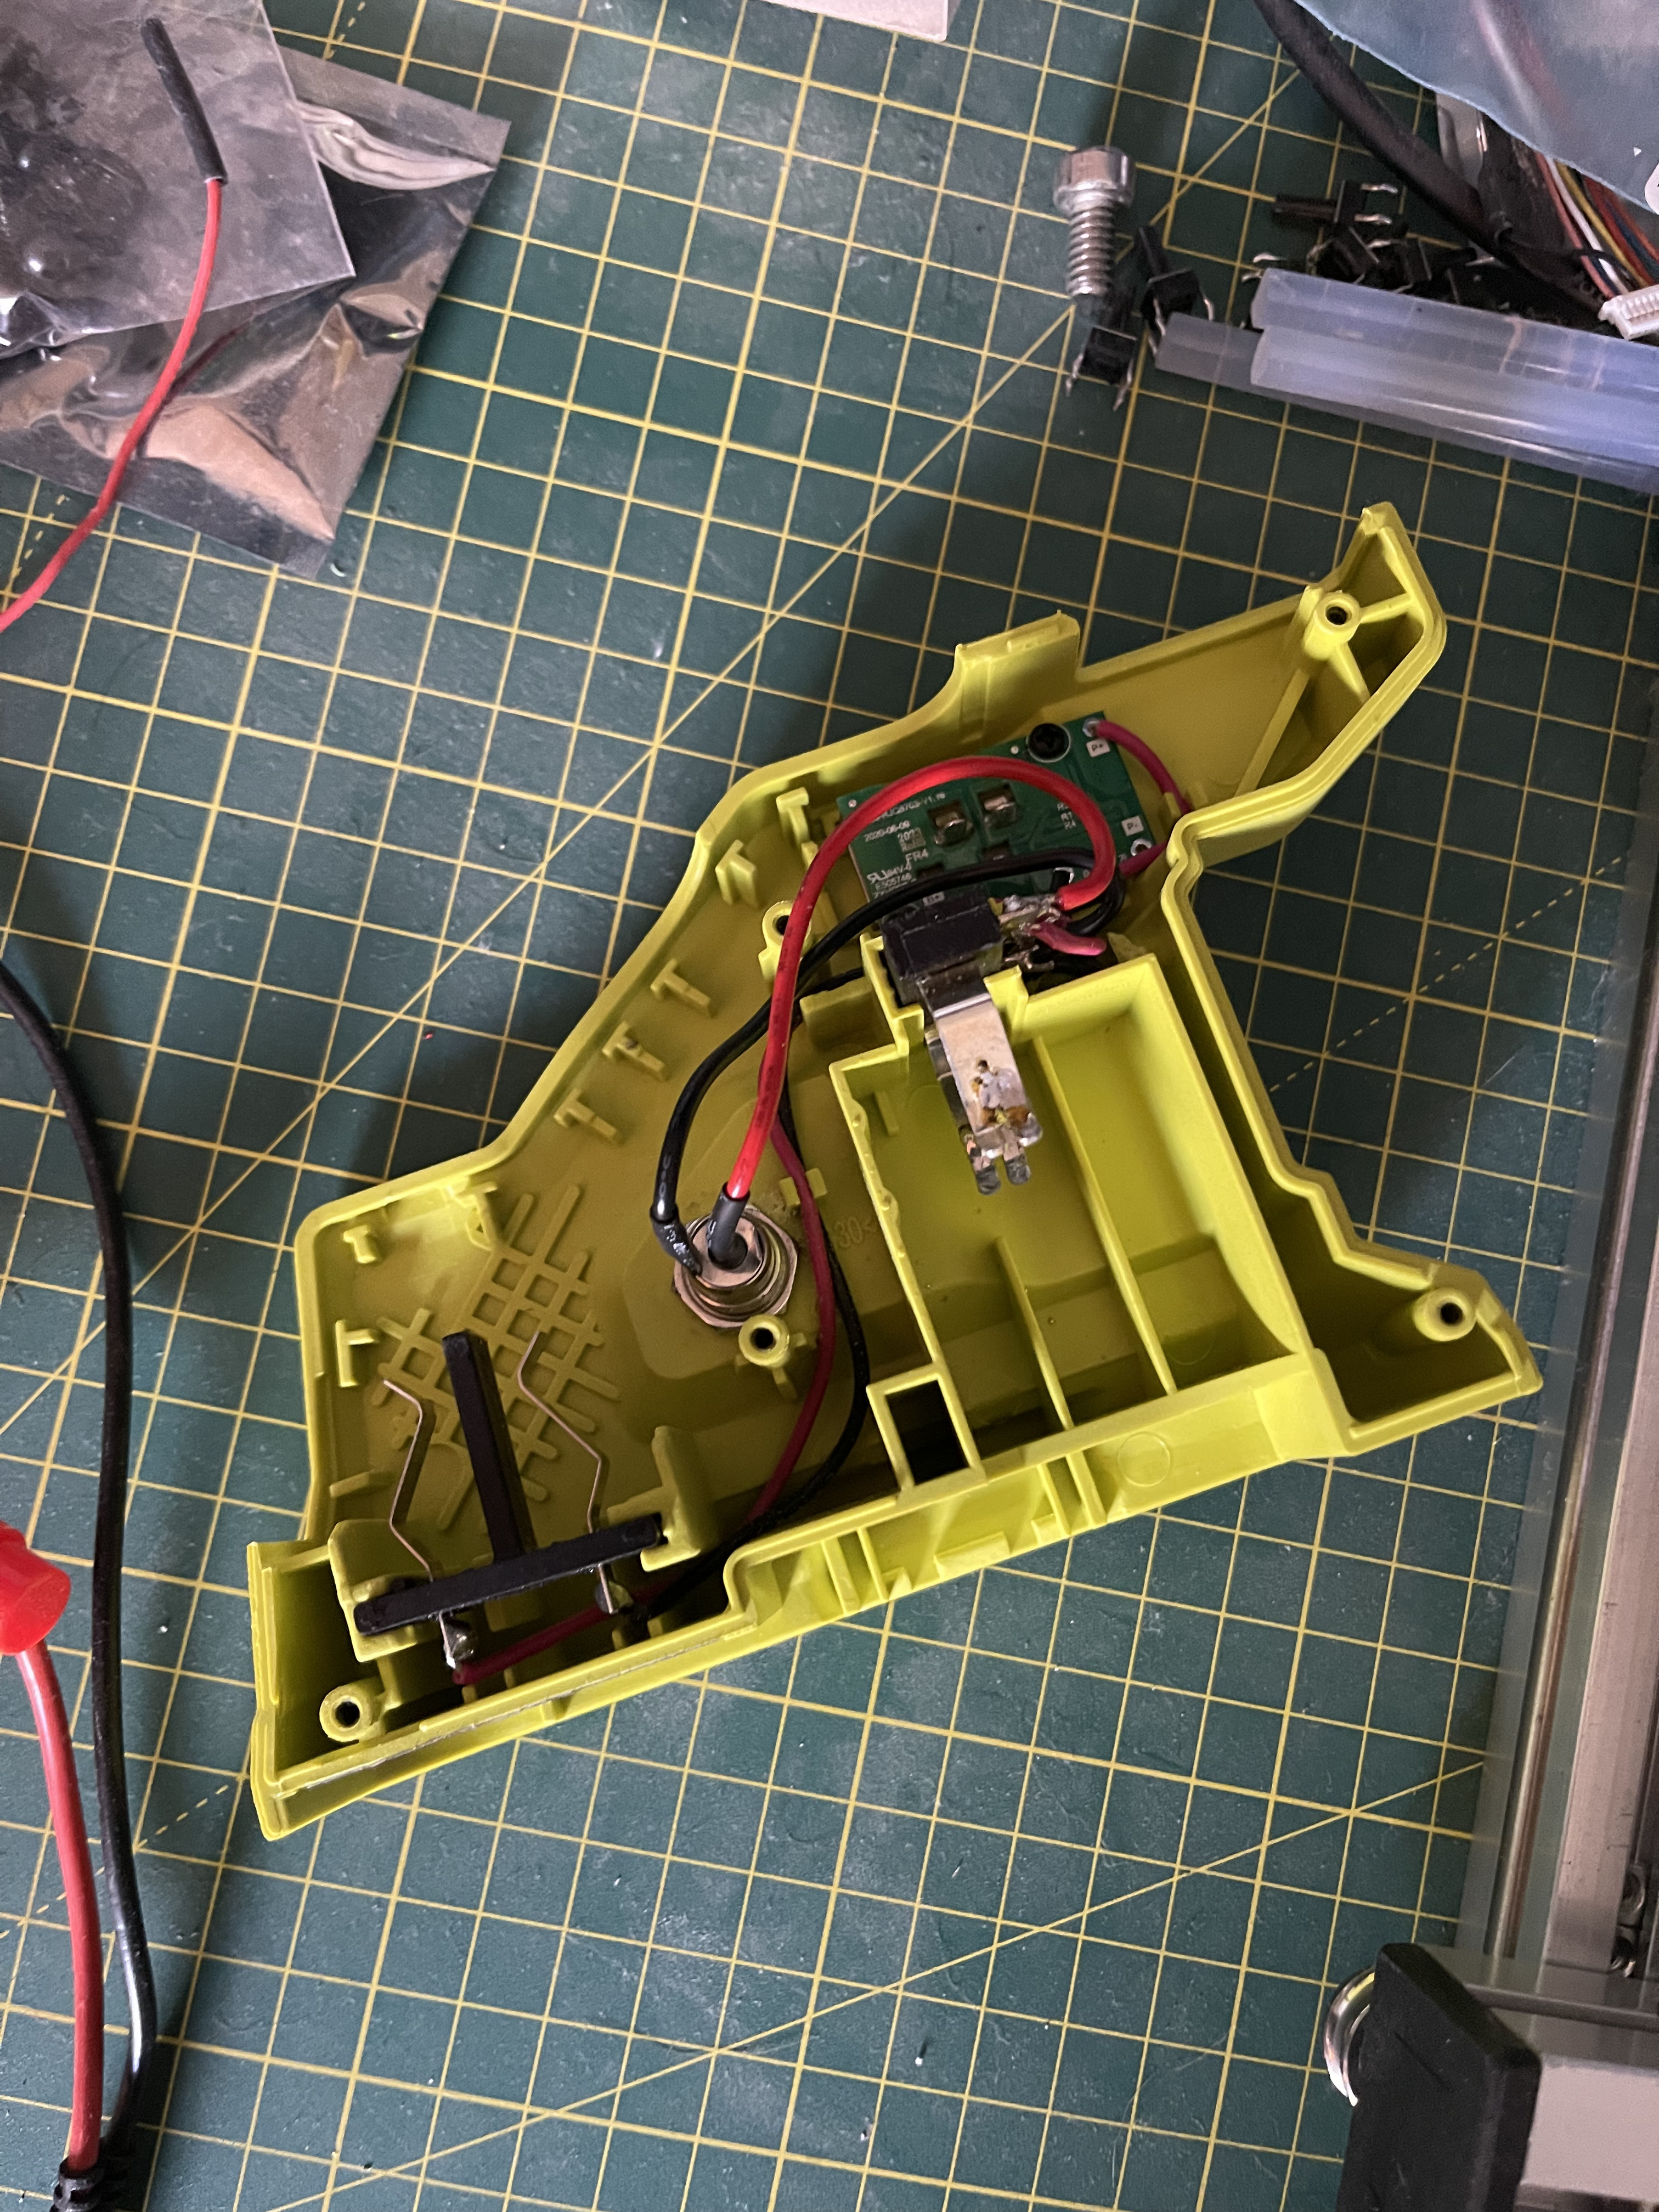
Once I opened the cradle, I found a nice place on the side that was perfect for inserting the jack. I drilled out the hole that fit the dimensions of the jack and test-fit the cradle back together to ensure everything went back correctly.
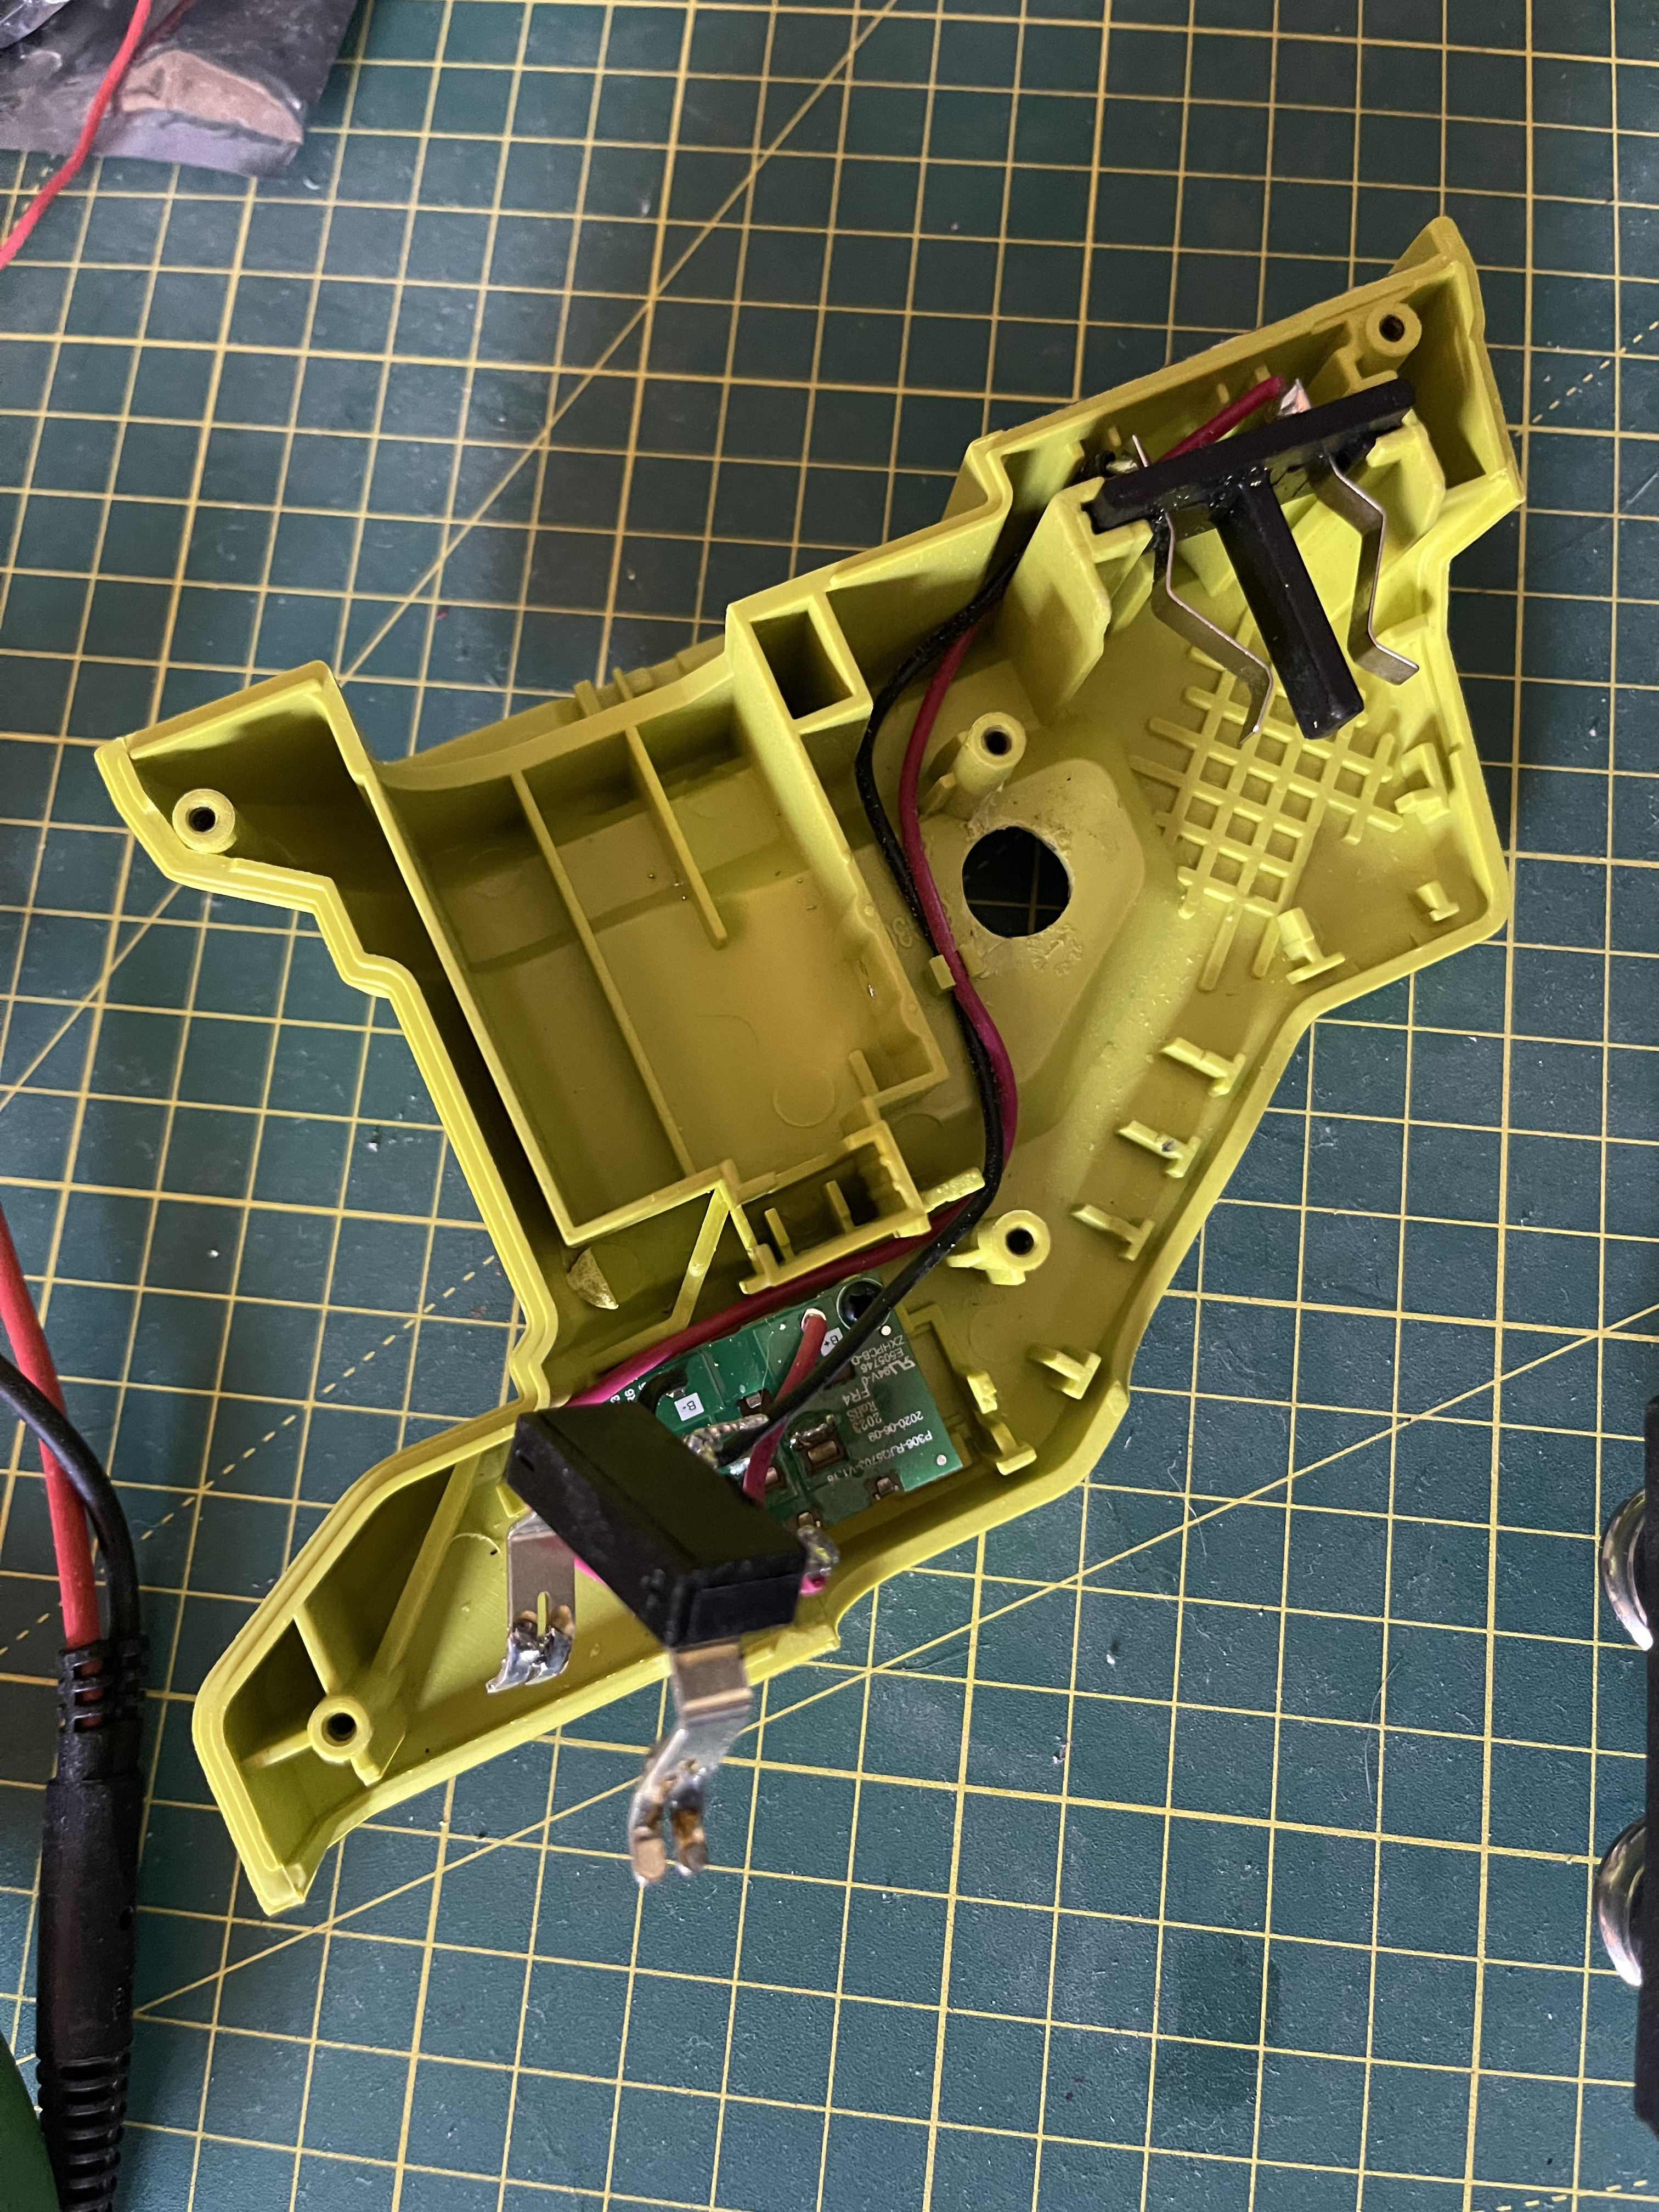
After the test fit, I soldered the connection in place. They’re soldered to the same entry point that the battery’s power comes in on.
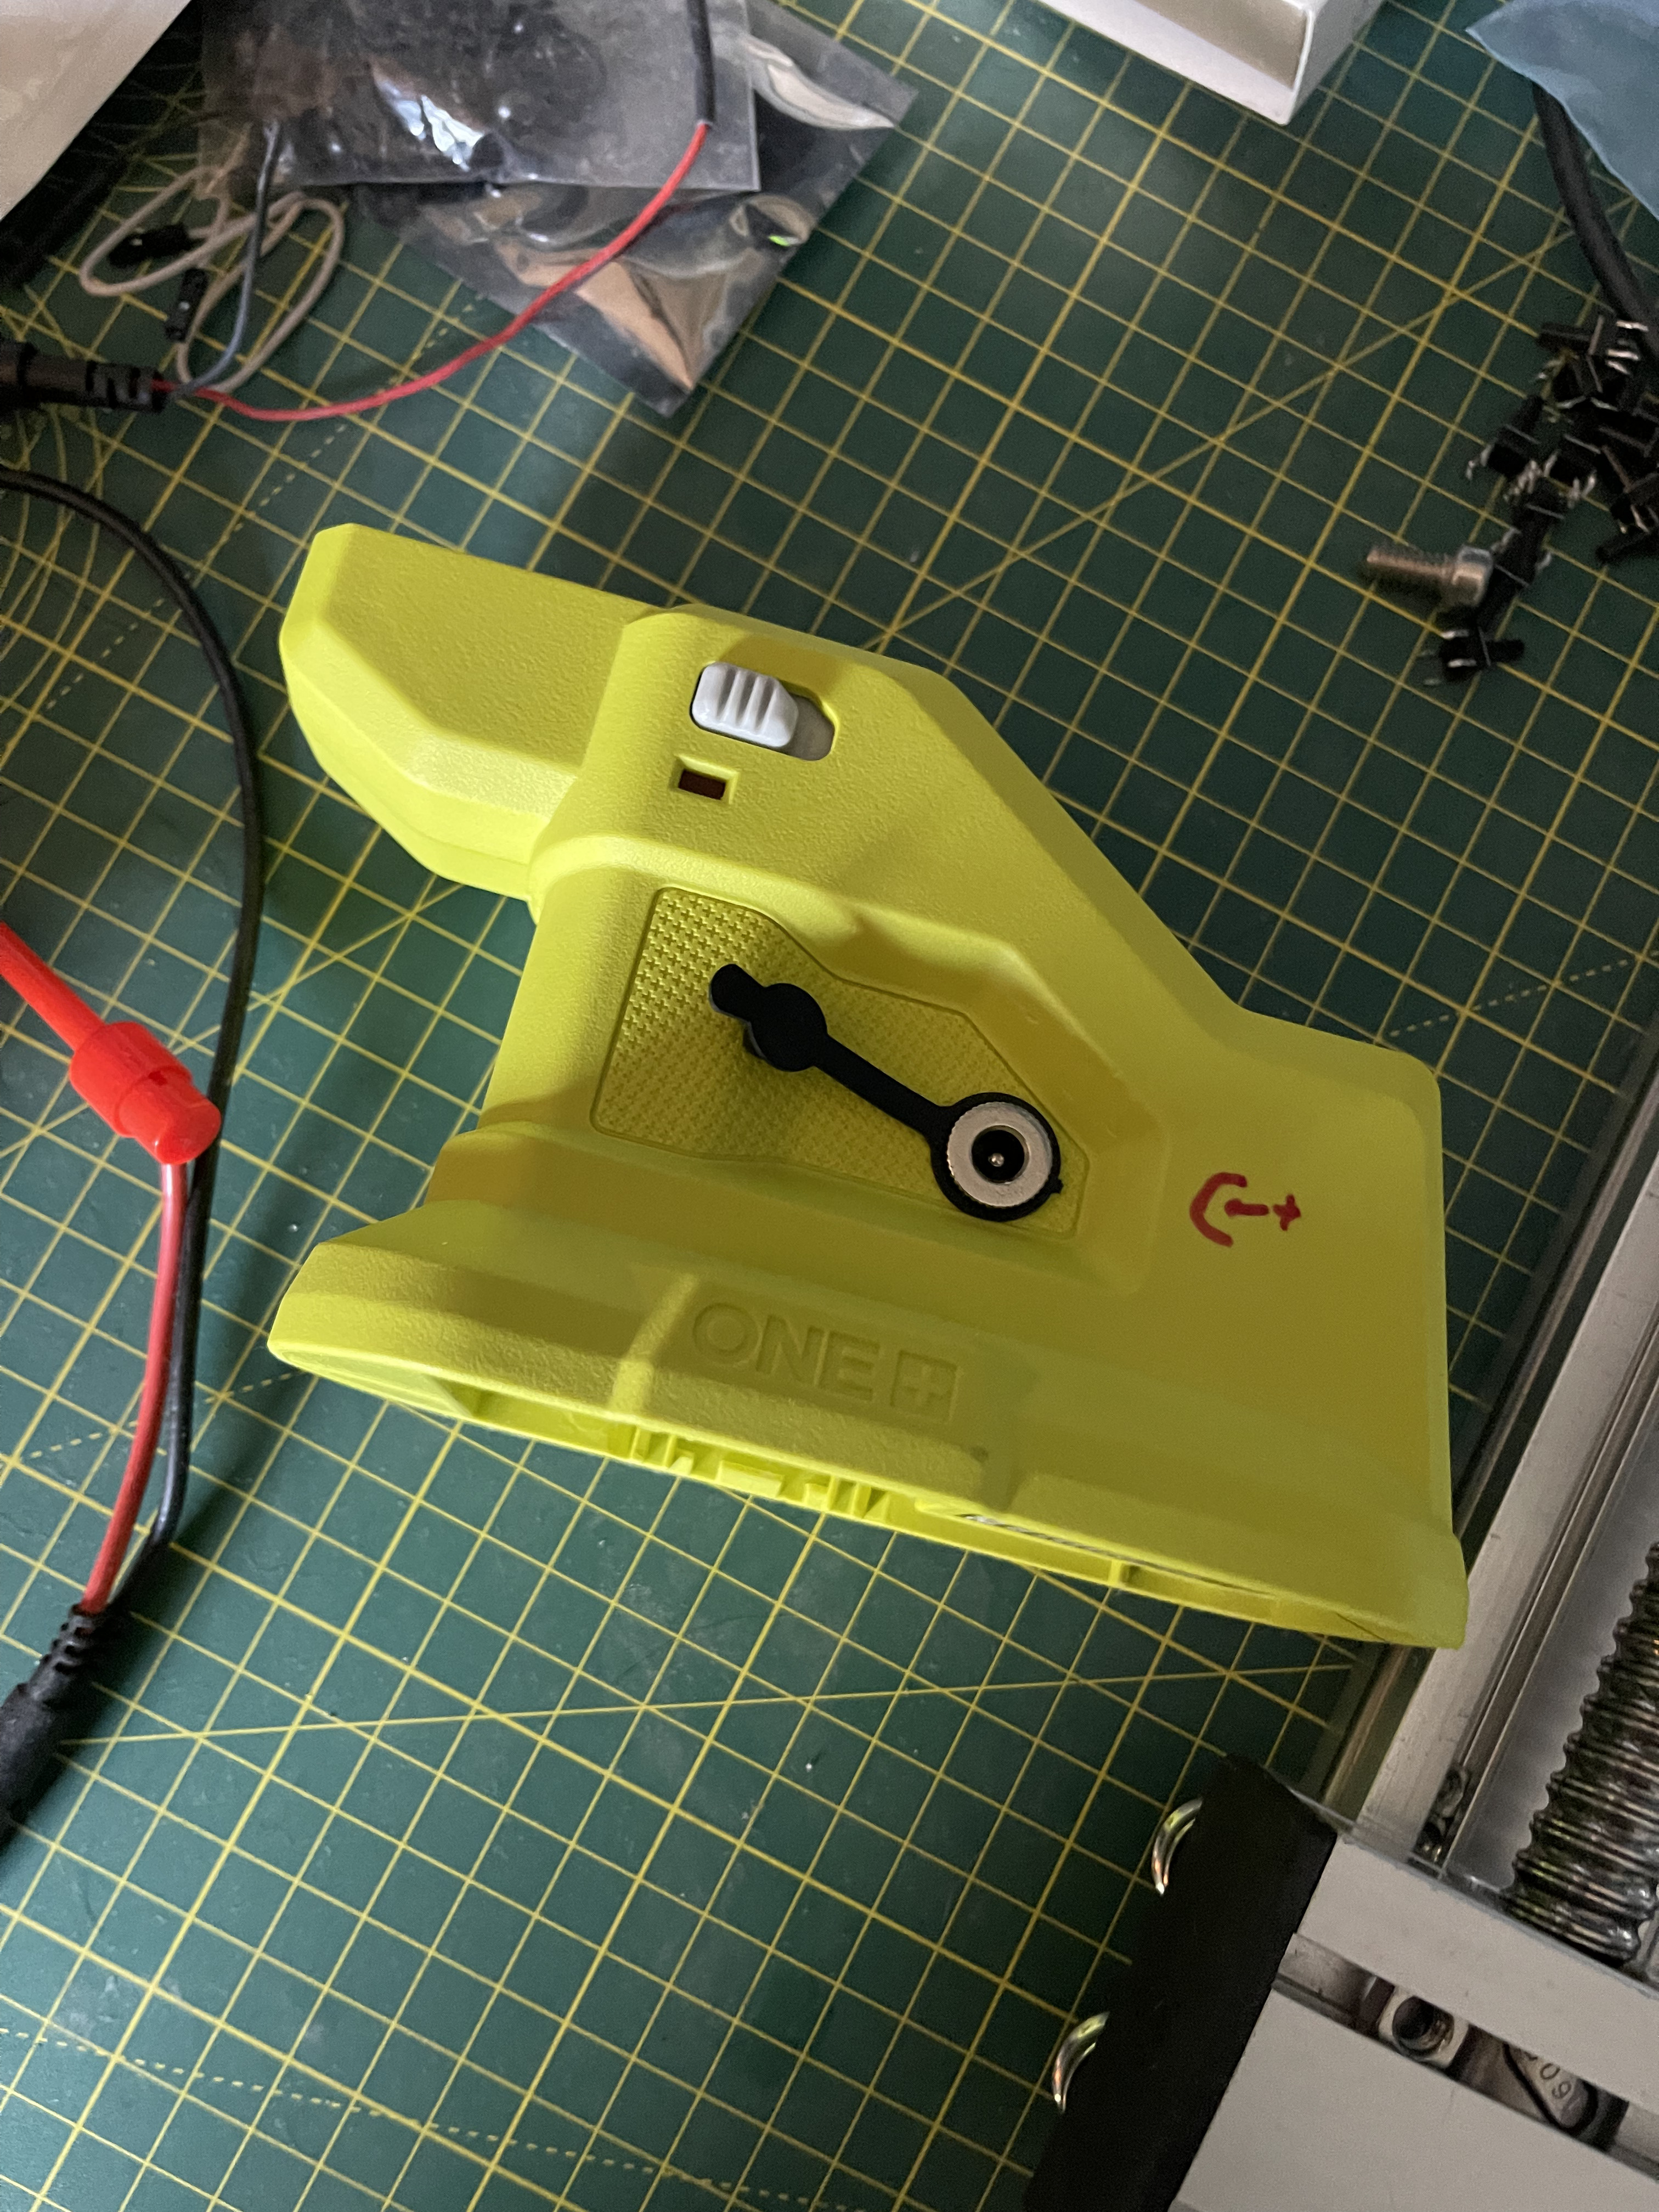
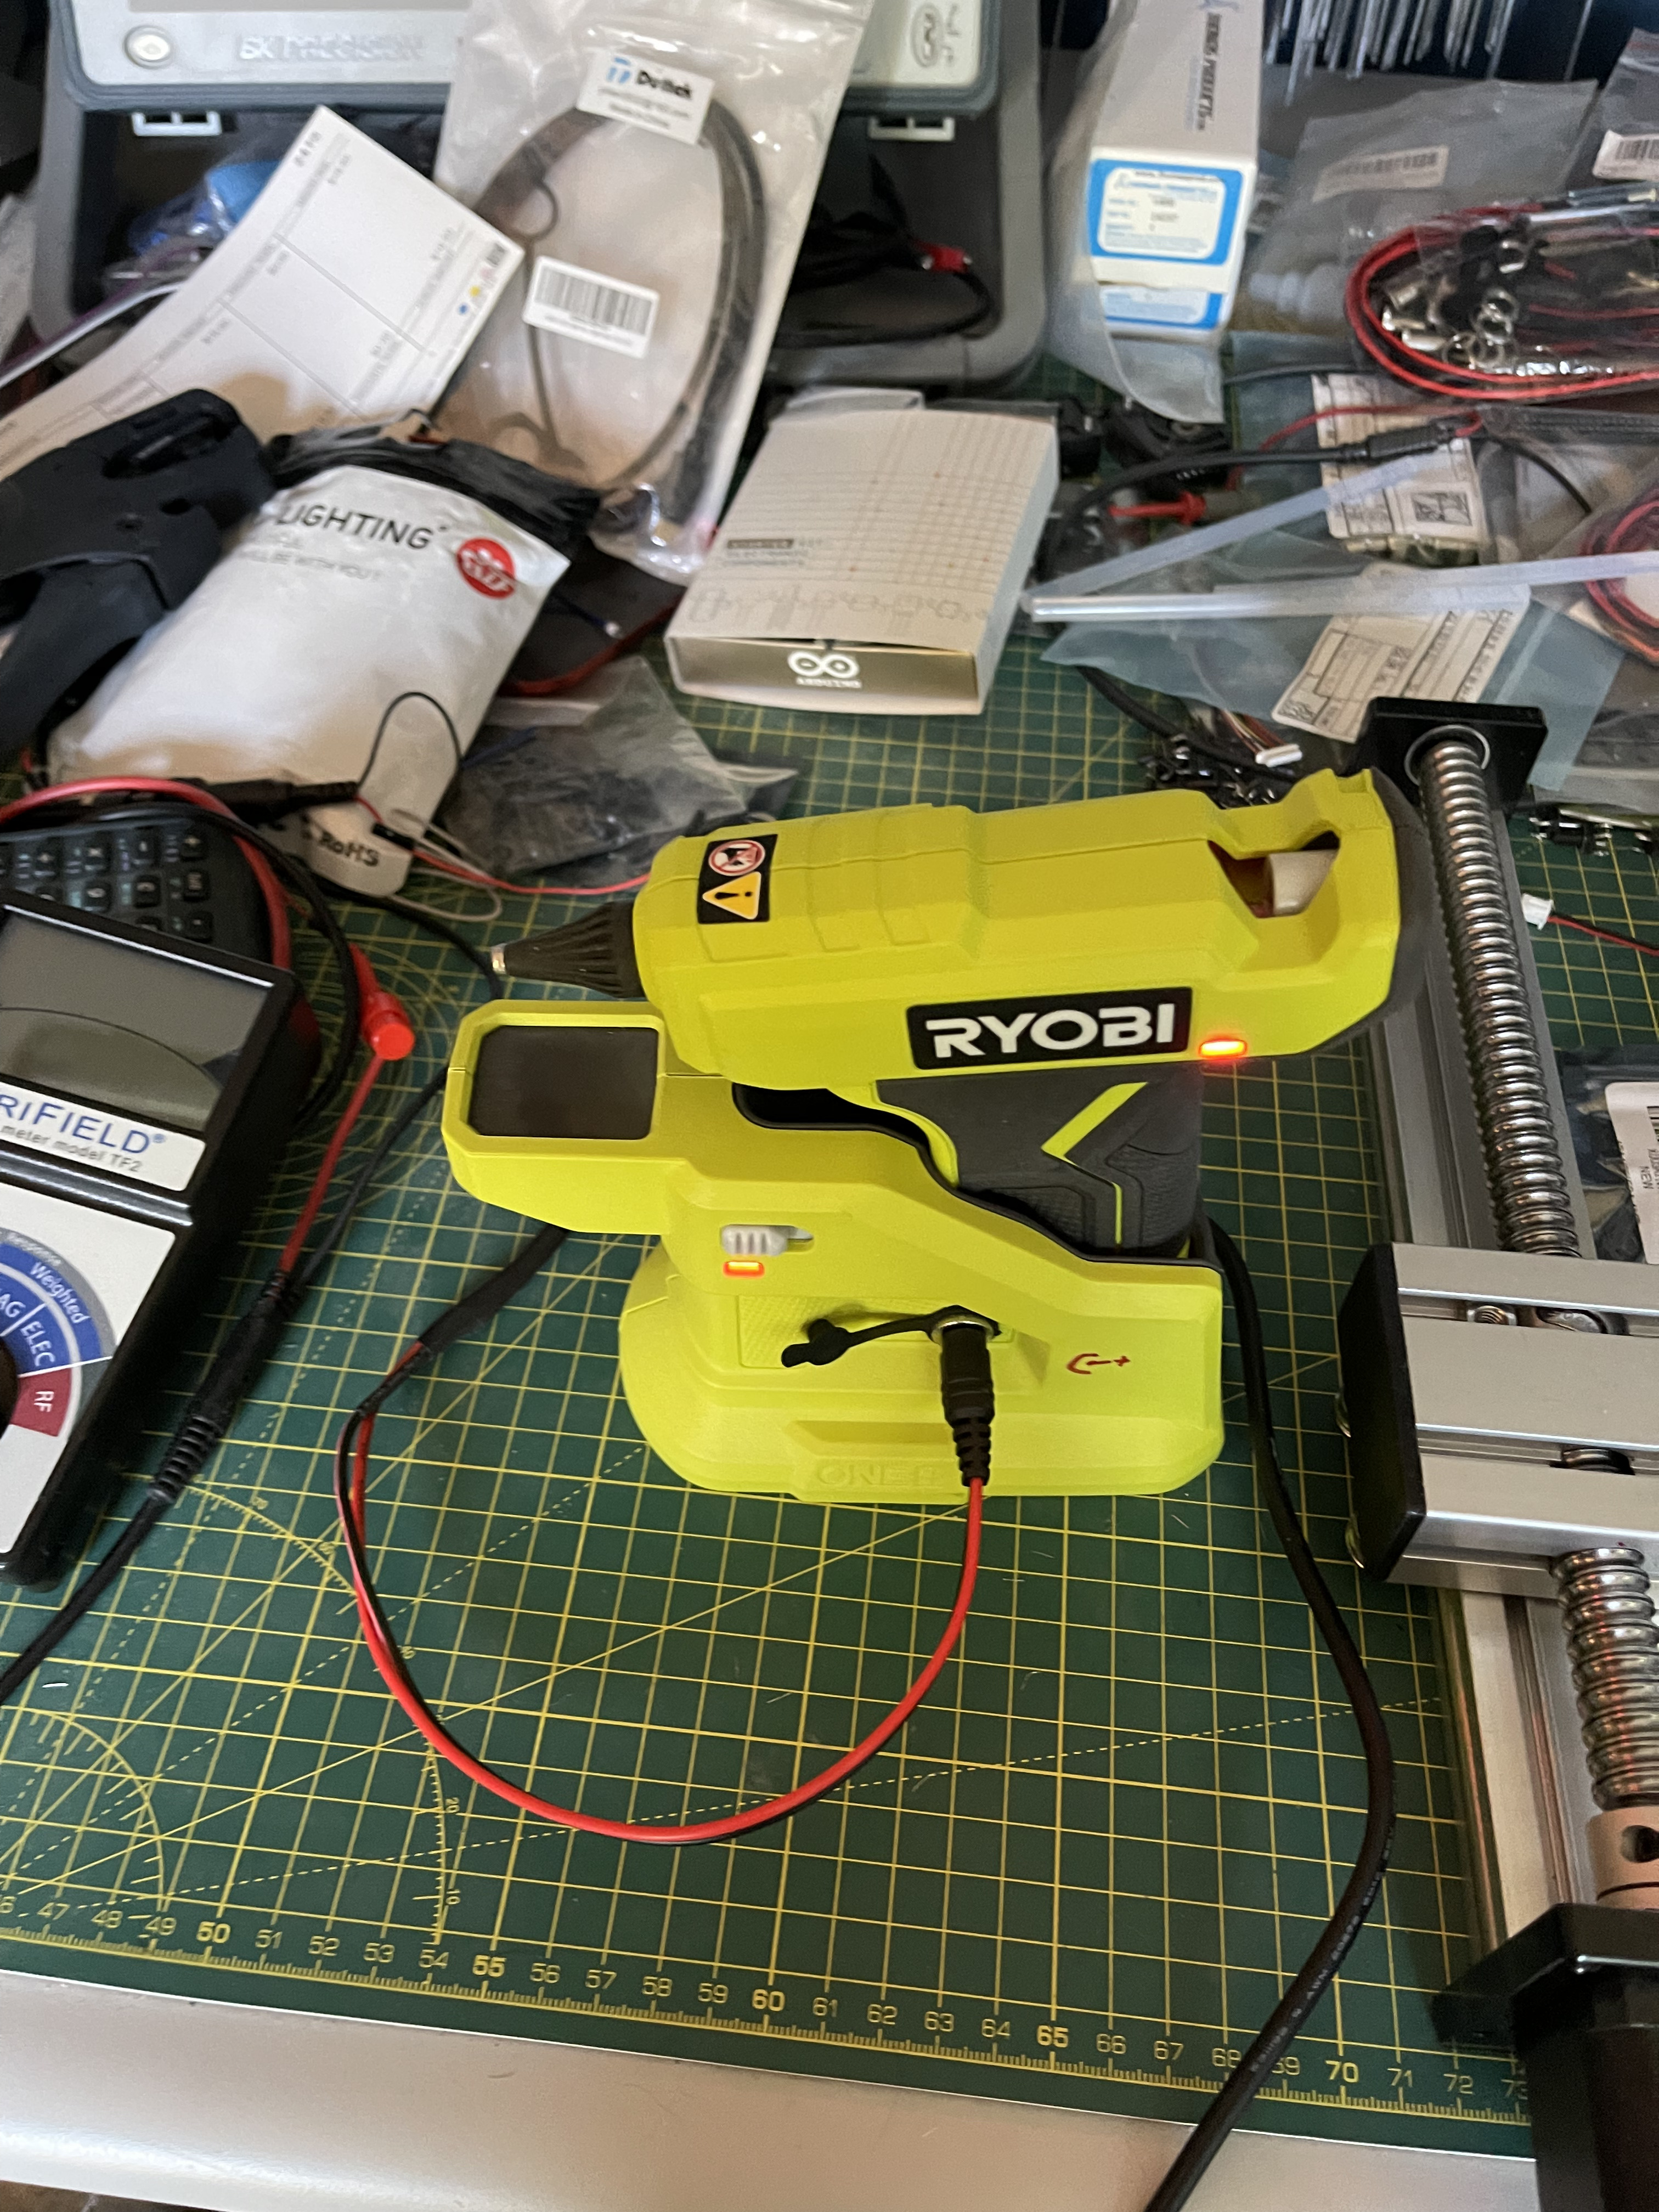
The best part is that it can now be used with the battery if you have one or via a power connection through the barrel jack. Here’s the reassembled cradle with the barrel jack installed. I didn’t think this through very well, I should have installed the jack on the side opposite the switch…live and learn. I marked the positive post on the cradle so I wouldn’t forget (center positive).
Next, it was just finding a power supply to output the voltage and amperage required to heat this thing (18v 4A). Digging through my junk pile, I found a power supply for an old HP laptop that spits out 19.5v@4.62A, which should work fine. I cut off the barrel plug on the end of this so that I could replace it with the size of the barrel jack I had added to the cradle (5.5×2.1mm). I plugged in the adapter to measure the voltage with a voltmeter to find the correct polarity and soldered on the new plug (they’re called coaxial power connectors, if you’re wondering).

The moment of truth, all buttoned back up, plugged in, turned on, and warming nicely. Again, if I did this again, I would move the plug to the side opposite the switch, but this works ok, and I don’t need the costly battery and charger that will only be used for this one device.
The parts for this are listed below with Amazon links. I do not get a commission for these, and it is not an endorsement of the products, they just represent what I used.